If you’re looking at a true log cabin, you’ll notice that there isn’t room for insulation in the walls. It’s just logs. I decided to do some research to find out how log cabins stay warm, and wanted to share what I found.
How do log cabins stay warm without insulation? Log cabins can be heated in multiple ways, including fireplaces, electric heating, and strategically placed windows. It is also important to have no gaps in the chinking and to control the moisture in the cabin itself.
Keeping a log cabin warm is a surprisingly intricate process that can even come down to the orientation of the building. It involves science, landscaping, and carpentry.
The Basics
There are some basic ways that log cabins stay warm with their insulation-less walls. One is that wood is actually an insulator itself. The reason that wood is a good insulator is that it has a lot of space in it. It’s down to the cell structure of the wood itself. The cells inside the wood are actually filled with air pockets. This makes it 15 times better than masonry, 400 times better than steel, and 1,770 times better than aluminum.
Another way log cabins can keep warm is down to its orientation. Experts say that the best direction to have the windows facing is due south. This is because during the wintertime, the sun hangs low in the southern sky, thus shining more through the south-facing windows. West and east facing windows only see a few hours of sunlight during the cooler months, therefore letting much more heat to escape.
Another important factor in the heat-retention in a cabin is the quality of the wood that’s used to build it. Experts use a rating called “R-Value”. The R-Value measures how heat travels through a certain material. The higher the R-Value, the better, because that means the material tends to keep the heat inside of it, rather letting it pass on to another material, thus making it a good insulator.
It is also extremely important to watch for air-leaks in your cabin. These can form in the building of your home, while it’s settling, or over time. Air leaks are cavities between the logs as they shrink or expand. It’s best to use kiln-dried wood so that it has at least a 19% moisture content. This will keep the wood from cracking or moving too much. Calking is also helpful when it comes to preventing air leaks. Watch for these breezy cavities during every inspection of your cabin. Once discovered, they can be easily filled with expanding foam.
Fireplaces
One of the classic images of the winter months is a roaring fireplace, nestled inside a cozy cabin. There’s a rug on the floor, perhaps a Christmas tree, and inevitably children reading stories to their teddy-bear or dog.
This image has become rampant in our society because fireplaces are undeniably snug. There are three kinds of fireplaces in front of which you can cuddle with Spot, as you delve into the wonders of Dr. Seuss: gas, electric, and wood.
Gas fireplaces are fireplaces connected to your gas line. They use actual fire to heat up, and so must be installed carefully and correctly. Gas explosions do not go well with storybooks. Gas can also be incredibly expensive. And if there is a problem with your gas, it may be necessary to snuggle with Spot under your heaviest blanket.
However, these are an excellent option because the heat can be controlled via remote. You also won’t have to deal with a chimney or flue. Gas fireplaces are best for larger rooms.
Electric fireplaces require an electrical connection to your house so it can generate heat. These fireplaces look like real fireplaces and have extremely easy maintenance. They also won’t become too hot to touch, thus creating less of a singeing hazard to Spot’s tail.
However, although they may be cheaper upfront than gas, they will cost more in the long run. And if your electricity goes out for whatever, you will be required to take refuge under the down comforter. These fireplaces work best in smaller rooms.
The wood fireplace is the classic fireplace we all think of. It is definitely one of the cheapest choices because you won’t have to use electricity or gas to make it work. So if the power goes out, or if you’re stranded, you can still read to Spot all the adventures your heart desires.
Downsides are, you will be required to take care of the chimney, and also you will have to cut your own wood. However, this may seem a relatively small price to pay, especially considering all the roasted chestnuts you’ll be able to eat.
In-Floor Options
Some cabins rely on heating through the floor itself. This technique has been used for thousands of years. It’s called “radiant heating”. There has even been evidence of this type of heating from Ancient Greece! There used to be tunnels under the floors that led to the main furnace of the house. The furnace would be lit, and the hot air would travel through the stone tunnels, and radiate through the whole house.
In modern days, we have technology that is slightly better than stone and smoke. Now we use electricity to heat the floors, by placing rods underneath the floorboards and making them red-hot. There are even some options that use solar energy, which is an excellent cost-saving strategy.
However, no matter how toasty the rods or solar panels may be, it is critical that the cabin is built with a good foundation. Usually, this is up to the architect or structural engineer. The building of the foundation is contingent upon structural features, geographical features, water tables, topography, and budget. But besides giving your cabin some firm ground to stand on, the foundation will also provide excellent support for the heat retention of the cabin. It may be a good idea to insulate the foundation, as this can decrease your energy bill by 20%.
Floor and Ceiling
Another one of the most critical features of a log cabin is its floor and ceiling. For example, a cathedral-type ceiling my look really gorgeous in your cabin, but it will also make more space you will have to heat and cool. A tongue and groove ceiling will be much better at heat-retention, and easier to heat up in general.
On average, about 70% of the heat in your cabin is lost in the floor and the roof. It may be necessary to insulate these parts of your cabin to save that heat and energry.
Floor
Insulating your log cabin’s floor can save up to 20% of your annual heating costs when fitted properly and combined with the finished floor.
First step’s first, you should install a moisture resistant membrane such as Tyvek, this will prevent damp from rising and keep the underneath of your cabin dry as it acts to stop water coming through but allows water vapor to escape.
Once your membrane is in place, you will need to lay thin pieces of wood to raise your log home off the ground. If your log cabin is already raised off the ground slightly, or is on stilts, you will still need a moisture resistant membrane and you can continue with the steps below.
Secure your joists onto the lathing and attach batons to the joists to support the insulation. When attaching the batons, keep in mind that you will need to leave around a 50mm gap between the membrane and the start of the insulation to allow air flow to remove moisture.
Joists are horizontal members or beams which run parallel between the foundation to support a load.
Once the membrane and joists are in place, you need to cut the material you are using to insulate to the right size to fit perfectly in the cavities made by the joists. By making sure the insulation fits snugly, you will avoid cold spots in the flooring.
The top of the insulation should sit flush with the top of the joists, and the flooring should lie directly on top. Your insulation should be at least 50mm deep to work efficiently.
Roof
If you want to insulate the inside of your roof you need to flip the process around for insulating the floor.
Most people who build a log cabin will want the beautiful detail of the high roof and rafters to be visible from the inside, unlike many regular buildings when the ceiling is boarded up flat to form a box shape room.
It is for this reason that many log cabins will have the insulation on top of the log cabin. Your log cabin should be completed to roof rafter level and the roof should then be sheathed with your boards; I would recommend using good quality aged boards rather than plywood to add to the rustic feeling of your cabin.
You will then need to cover your roof with moisture resistant membrane such as the Tyvek or Kingspan as mentioned before. You will need to staple your membrane down onto the boards. This is great because it will stop the warm air from your cabin escaping into the layer of insulation.
It is time to add your insulation and there are a great many to choose from. If you are sticking with sheets, you will need to add batons to your roof to encase the insulation.
Your batons will need to be put around the edge of your roof and spaced out evenly along the length of your roof. You can then cut your insulation to size to fit in between. Similar to your floor, you should leave a small air flow gap so make sure your insulation doesn’t sit flush with the very top of the rafters. After the completion of this step, you are ready to finish your roof as desired.
Moisture
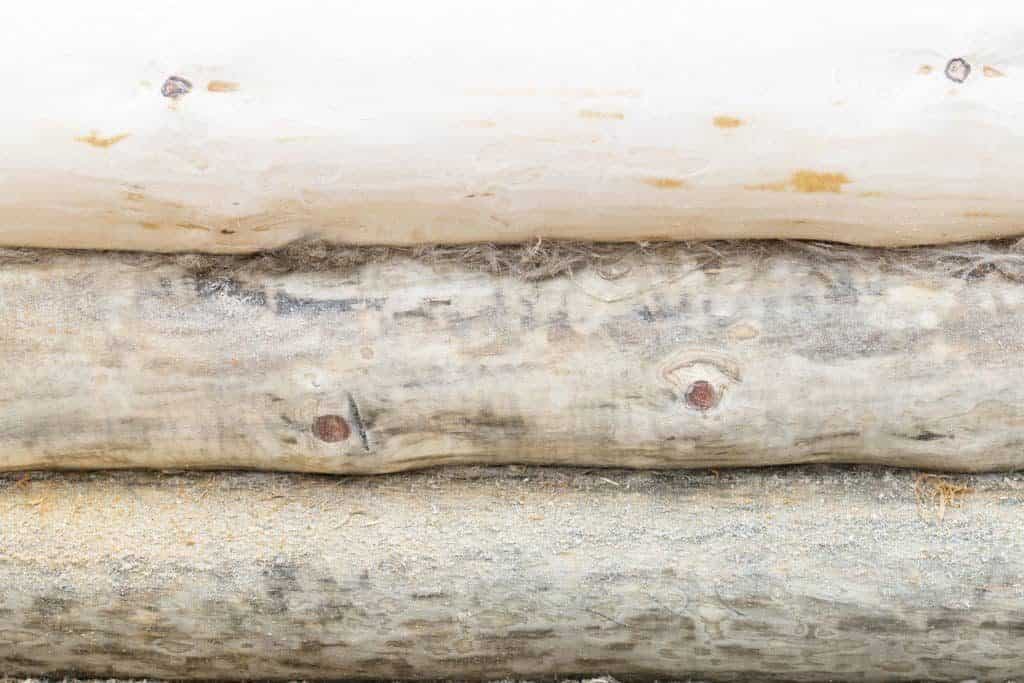
Trees are excellent at abosrbing large amounts of water, due to the fact that this is actually a necessary process during their growth phase. Unfortunately, for log home owners, once the log has been dried it can still absorb large volumes of water; this is known as hydroscopic.
If your log cabin absorbs lots of water within a short period of time, this will promote lumber rot, air infiltration, and insect infestation.
Whilst lots of factors can influence the moisture content of logs; it’s important during the build phase to make sure the logs are cut, stored and dried properly. Once your cabin has been built, it’s then essential to stain, chink and perform bi-annual maintenance to prevent moisture from attracting mildew, mold, termites, and rot.
Double Glazing
A great option to maximize the heat retention of your cabin.
If you’re building in a cold climate you definitely use logs that have a diameter of at least 10 inches, however, if you are building in Europe or a warmer climate, your logs may not necessarily be as large depending on the purpose of your log cabin.
Double glazing is only worth getting in log cabins that have walls with logs of a diameter of at least 58mm. Any less than that and the walls are actually not as effective at insulating as the windows, in other words, more heat will escape through the walls than the windows.
Double glazing the windows of your log cabin can reduce your heat bill by $200 a year.
Double glazing your windows will also save you a lot on the moisture and energy inside your cabin, because less condensation will form on the windows during weather changes.
Visit Our Cabins Page for More Great Content!
Related Questions
How dangerous are gas fireplaces in my log cabin? If your gas fireplace has been installed correctly and professionally, there should never be a safety problem with it besides being burned when you touch it. Never attempt to install a gas fireplace by yourself, as that may lead to serious complications. Like a gas explosion.
What’s the best type of wood to build a cabin with? There are several excellent woods that can be used to construct your log cabin. Some common ones are white and yellow pine, spruce, oak, and red cedar.