What goes up must come down or in the case of rappelling what goes down must come up. Rappelling won’t typically require you to ascend the rope after the rappel but there are many technical routes and locations where the only way out after rappelling is to ascend up the rope. So it’s important to know what gear you can rely on to ascend your rope.
Here are my personal recommendations of some of the best rappelling ascenders on the market at an affordable cost.
One side note. When looking for ascenders, understand what is needed for your specific rappel because each is unique. Certain skills need to be mastered along with a full understanding of properly using the gear needed.
Take time to practice and always rappel with an experienced partner to provide added support. When putting ascending gear to use, take it nice and easy. I have found that the GM CLIMBING Hand Ascenders to be particularly useful, especially when paired with the Singing Rock Footer Ascender Sling.
Both these pieces of gear will maintain greater control and a smooth, constant speed during an ascension. Continue to go at a speed you are most comfortable with though until you reach the top. When using rappelling ascenders be mindful to never push yourself beyond physical or experienced limits to avoid danger.
Before I share more on each piece of gear and why I recommend them, let me share some fundamental techniques that can be used in place of these tools to ascend rappelling rope.
How to Climb Up the Rappel Rope
I can’t emphasize enough how important it is to learn the Prusik knot. This is one of the most important knots to know for anyone planning to rappel, primarily because it is commonly used to ascend a rappel rope. The Prusik knot is a friction hitch and allows a more controlled ascent. Additionally, tests have shown that the Prusik knot can carry a significant amount of weight and tension in comparison to other knots or methods. This is a clear cut choice to support personal weight.
If needing to tie a Prusik knot midair, an Autoblock will be needed to safely hold the rappeller while freeing up their hands. This allows use of both hands when tying the Prusik. The Autoblock is a precautionary step that is recommended to be tied prior to the rappel. To learn how to tie this hitch visit the Autoblock tutorial.
Now with the Autoblock safely in place, move the Autoblock up until it is fully engaged. Once engaged, both hands can safely be removed from the rope to tie the Prusik about a foot above the rappel device. The following steps teach how to tie the Prusik knot:
- Tie a double fisherman’s knot to join two cords (see fisherman’s knot).
- Tie a second double fisherman’s knot with the other tail. The cords should now make one big circle.
- Pull the double fisherman’s knots together to create a barrel knot.
- Take the loop of the cord and place it under the rope.
- Wrap the cord around the rope three times. Be sure the wraps stay on the inside of the cord, with the double fisherman’s at the bottom.
To properly tie the Prusik knot make sure to have additional cord on hand. Always be prepared for anything! By taking proper measures beforehand it will decrease the likelihood of any incident taking place when rappelling.
Putting the Prusik to Work
Now that you know how to tie the Prusik lets put all these techniques into action so that you can ascend up the rappel rope. This example is if you are rappelling on a double rope.
- Start by tying two friction hitches using the Prusik knot. Use two different soft nylon cords, 5mm or 6mm for best results. Both Prusiks will be tied on the rope above the waste, one above the other. Do not overlap.
- On the top Prusik attach the end of the cord to a locking carabiner. A 24 -inch sling will be attached to this locking carabiner and directly to the harness.
- The bottom Prusik attach the end of the cord to a locking carabiner. Attach two 24 inch slings. Once sling will be attached from the carabiner to the harness. The other sling will dangle and will be used as a foot sling.
- At this point place the foot in the dangling sling and stand. This will place your weight on the bottom friction hitch (Prusik). Slide the top Prusik up as high as you can.
- Now sit back in the harness (keep your foot resting in the sling), placing your body weight on the top friction hitch (Prusik). Slide the bottom friction hitch up until the foot resting in the sling’s knee is bent at a 90 degree angle.
- Stand up in the sling again and repeat the steps of moving the top and bottom hitches. The rope can be used to balance when standing but make sure to not grab and balance on the Prusik hitches. Only use the rope for balance, only make physical contact with the hitches when sliding them up.
- Continue to repeat the process until the summit is reached. You are moving the speed of a tortoise in this process but be confident in your abilities and take your time so no mistakes are made. This is a slow and awkward method but this basic step can be learned quickly and adapted promptly when the need arises.
As taught, ascending can be done without added gear; however, take time to be properly instructed by a professional to put these skills to good use. Know when to use these basic skills and when it may be best to get quality rappelling ascenders to do the job even more efficiently. My recommendation is if frequent use is planned, especially when rappelling caves, bridges, etc. that the right gear can make a huge difference in overall performance.
The following are some rappelling ascenders and gear that I personally recommend.
GM CLIMBING Climbing Hand Ascender (Right Hand and Left Hand)

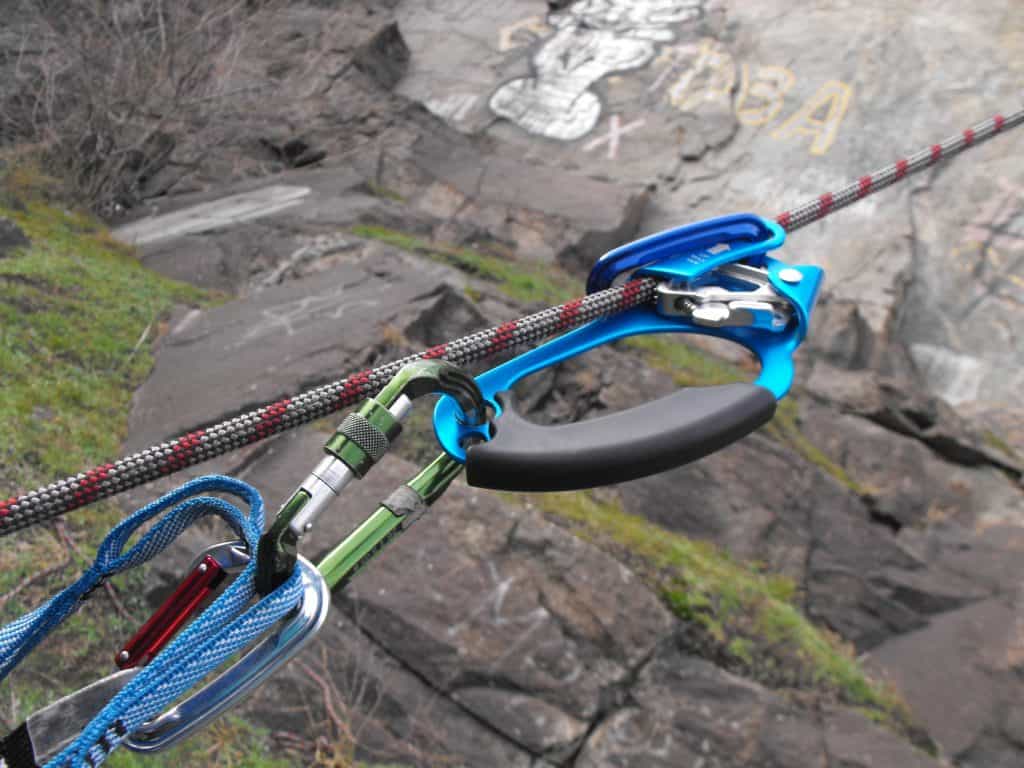
These hand ascenders are incredible! Especially if you have plans to ascend rappel rope on a consistent basis based of the locations that are rappelled. Some of the standout features of the GM Climbing Hand Ascender are:
- The rappelling ascenders are color coded as follows: orange for the left hand and blue for the right hand.
- It has a solid rubber safety catch which reduces any slipping with the added friction which in turn improves proper operation of the device.
- The ergonomic rubber handle increase comfort, reduces fatigue, and improves efficiency of force.
- The powerful stainless steel cam maintains a firm grip even when facing extremely wet or icy conditions.
- Multiple carabiner and webbing holes have been included that can be used as needed when ascending.
Singing Rock Footer Ascender Sling

The Singing Rock Footer Ascender Sling is an “adjustable foot sling for ascending a rope.” This sling is reinforced allowing long life durability. It can be easily attaching to the rappelling ascenders being used via a locking carabiner. Some of the added features are:
- Ascender webbing that has been crafted to withstand many extreme conditions and frequent use.
- It is both light and strong meaning less weight for you to carry and can hold up to 200 kilograms or approximately 440lbs. Not that is tough!
- The simple design provides ease of use as the ascending loop is marked and the sling itself can be adjusted to the right length for the user.
Rappelling Ascenders Conclusion
When deciding on what your needs are to ascend a planned route always seek expert advice. If this is a one time event and the ascension is not to technical try to rig your own rappelling ascenders by following guidance from a professional. If planning to do many routes that require expert skill and better gear it make be best to use the recommended gear to provide better grip, increase efficiency, less fatigue, and optimal movement.