Although inflatable boats are usually more affordable than other boat types, you still don’t want yours to wear prematurely on you. This article will investigate methods for increasing the longevity of these boats.
What are some ways to make your inflatable boat more durable? To make an inflatable boat more durable, you can build a hard floor or add a reinforced bottom layer made of tape, paint, or marine glue. You should also patch up the boat as soon as issues arise.
I’ll walk you through your methods for making a rigid inflatable boat or RIB a sturdier part of your boat collection, so you might be able to use yours for a long time to come!
Build a Hard Floor for the Boat
One of the weakest points of inflatable boats is that they lack a hard floor. Fortunately, it’s quite easy to add one yourself.
The ideal material for a rigid floor is marine-grade plywood. PVC is a good additional material.
Select half-inch plywood, as it has more stability than ¼-inch wood.
Two four-foot by eight-foot-planks should do it for most inflatable boats, but feel free to add a third plank if your RIB is just that large.
Then follow these steps.
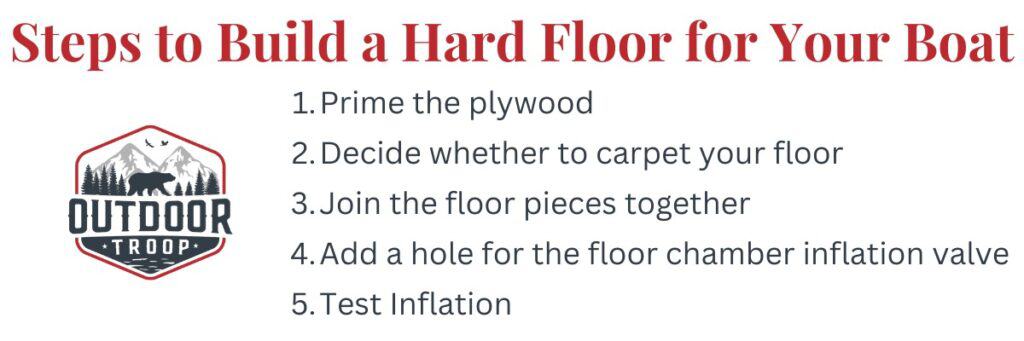
- Prime the Plywood
Even if your plywood is marine-grade, if it gets soaked with water–which could happen–then it’s first going to warp, and then it’s going to rot entirely.
What will end up happening is you’ll go to ride in your inflatable boat, put one foot on the bottom surface, and snap the wet wood with your foot.
The wood can splinter and puncture your RIB, which is what you were trying to avoid in the first place.
Use waterproof primer on the plywood, and be sure to paint both sides. If the paint you purchase calls for two coats, then apply two coats.
Make sure that you give each coat adequate time to dry.
- Decide Whether to Carpet Your Floor
You can carpet the plywood if you wish; if so, you’ll want to do that now.
There are pros and cons to carpeting your floor.
Your feet will enjoy a softer, more plush experience each time you climb aboard your inflatable boat.
However, if the carpet gets wet–and it will–it can create a hotbed for mold.
At the very least, use a layer or two of non-slip deck paint to give the floor a nice appeal if you’re going to skip the carpeting.
- Join the Floor Pieces Together
You have two options to link each piece of cardboard that comprises your RIB floor.
The first is back-to-back strut channels. These will have sharpened edges that require you to dull them before outfitting the struts to your inflatable boat.
If you forget to do that, the boat could pop.
Your other option is to use jointing strips.
Also referred to as H-sections, jointing strips will adhere both pieces of plywood together, creating an almost watertight seal.
- Add a Hole for the Floor Chamber Inflation Valve
If you need to quickly access the floor chamber inflation valve, you don’t want to have to detach your floor to do it.
I’d recommend finding the valve on your inflatable boat, marking it on the wood with a permanent marker, and then using a drill to cut a hole into the wood.
Don’t do any sawing or drilling with your inflatable boat in the vicinity, of course!
- Test Inflation
How do you inflate your boat now that it has a hard floor? It’s a little trickier but by no means impossible.
First, you want to inflate the boat’s floor chamber only.
Then, once that is nice and firm with air, insert your wood floor. It should fit snugly. Remember to add the jointing strips or strut channels.
Once you’re done, you can continue to inflate the rest of your RIB as usual.
Now get in the boat and ensure that the floor isn’t slipping or moving around too much or that any rough edges are rubbing against the inflatable sides.
If you’re confident that the floor is to your liking, then you can begin using your new and improved inflatable boat!
When the time comes, deflating the boat is as simple as taking the floor out and letting all the air out of the RIB.
Add a Reinforced Bottom Layer
If the thought of building an entire floor for your inflatable boat sounds too time-intensive (it does take several days for all the paint and glue to dry), you can always reinforce the bottom layer of your boat faster.
You can do this in a few convenient ways: with tape, with paint, or with marine glue. Even a combination of the three is suitable, although it might be a touch overkill.
Instead, what I recommend is selecting a material that gels well with the material of your RIB.
For instance, PVC is a common inflatable boat material. If that’s what yours is also made of, then you want to use a PVC-based material to reinforce your boat.
The same goes if it’s made of Hypalon.
When painting the underside of your RIB with marine-grade paint or glue, here’s how you do it.
Apply one thin but consistent layer across the entirety of the floor.
This will probably involve two people who will each paint half of the floor.
If you’re on your own, then you can paint half the floor (not the half you’re standing on), let it dry, and then paint the other half.
Once you’ve adhered to the glue or paint, read the instructions on the packaging for dry times.
Be sure to allow the full amount of time for the glue or paint to dry and keep your RIB somewhere where it won’t get wet in the interim.
Then, when everything is dry, applying another layer is a good idea. Even a third layer is fitting, but there’s no need to go beyond that.
Although marine-grade glue and paint, especially the glue, are typically used to fix a leaky inflatable boat, you can also use them for reinforcing a healthy, non-leaky boat.
Patch Up Damage As It Happens
My last method for increasing your inflatable boat’s longevity is to check for and fix up tears, holes, and leaks as soon as you spot them.
I would recommend that each time you use your RIB, once you bring it back to shore, give it a thorough once-over.
Apply gentle pressure on the boat’s sides, especially along the seams, and listen closely for any hissing noises. Then do the same on the top and bottom of the boat.
Another method boaters will use to find leaks is to fully inflate the RIB until it feels very firm.
Next, fill a bucket with water and liquid detergent and apply the mixture to the boat using a brush or rag.
If you see bubbles begin to emerge, that’s a sign of a leak.
If you spot a leak on your inflatable boat, it’s time to buy a patch kit.
Patch kits usually include vinyl or PVC components, so choose a kit according to what your inflatable boat is made of.
I would recommend purchasing two patch kits, so you always have at least one handy. After all, you never know when boat leaks can occur, and you don’t want to be caught unaware.
By patching up your boat as soon as you find an issue, you can prevent a rip or tear from becoming so large that you must consider replacing rather than repairing your inflatable boat.
How Long Will an Inflatable Boat Last?
What kind of lifespan should you expect out of a RIB anyway? Well, that depends on what it’s made of.
If yours is a Hypalon inflatable boat, then its projected life is anywhere from seven to 20 years, which is quite generous.
For a standard boat made of PVC, you could get as little as two years with the boat and up to 10 years.
Inflatable boats with welded seams are more rigid, so they could last even longer.
Final Thoughts
There are ways to increase the longevity of your inflatable boat. First, you can build a hard floor for the boat. Second, you can add a reinforced bottom layer, and lastly, be sure to fix any rips, tears, or holes in the boat as soon as possible.