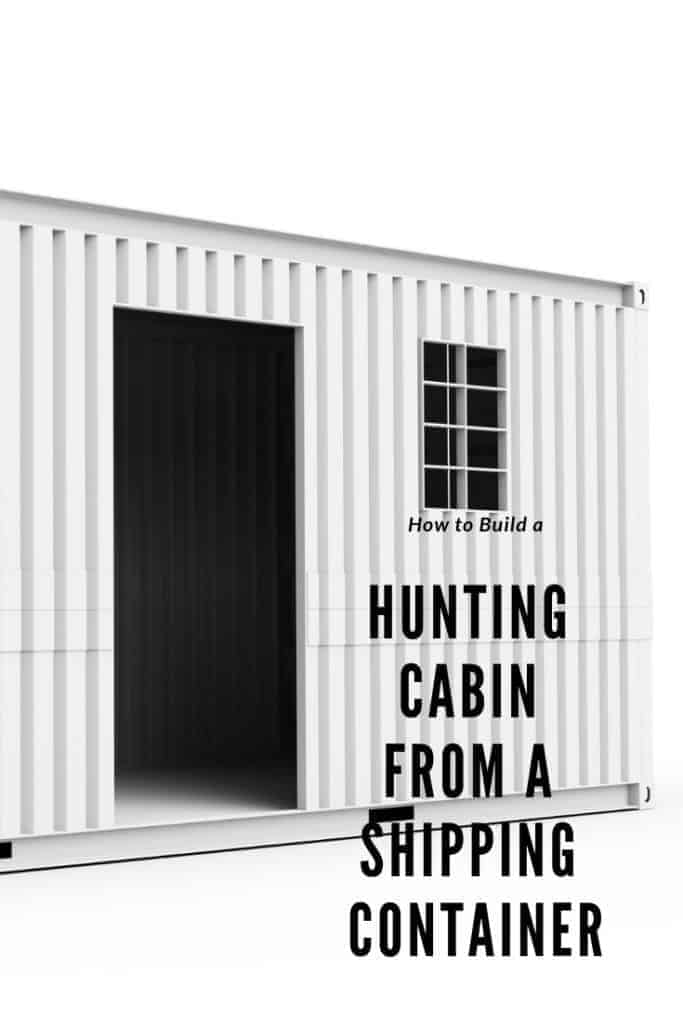
People are constantly looking for uncommon ways to live, and one of the newest additions to the ever growing list is the building of shipping container cabins. Though these lack the cozy appeal of a log cabin, there a lot of benefits that come with a using a shipping container.
So, how do you build a cabin from shipping container? Well, the first step is to design your blueprints with the limited floor space in mind, then, order and ship your container, secure it on a foundation, build a roof, secure the cabin, and start accessorizing.
Why would you want to build a cabin from a shipping container? How is it reasonable for you to build it by yourself? How much will it cost? All this, and more, you’ll find below.
Pick Your Container
The first thing you need for a shipping container cabin is the best shipping container possible.
There are two sizes of shipping containers. There is a 20 foot by 8 foot by 8 foot with a square footage of 160 square feet. Or you can chose a 40 foot by 8 foot by 8 foot shipping container with a square footage of 320 square feet. Your choice will need to depend on your budjet and your ultimate plans for the container.
The first container you can expect to cost between $1,400 to $2,800, and the latter will cost about $3,500 to $4,500. These costs can fluctuate based on where you are shipping them from. If you live in California and are shipping a container from New York, you can expect it to cost a heck of a lot more. So when searching for a container, be smart about where you buy them from.
You can buy shipping containers from just about anywhere online. Lots of shipping companies will sell their containers if they are overstocked or their containers are too old. That does bring up the necessity to make sure that whatever shipping container you end up buying is in good condition.
You can also get free shipping containers from sites like craigslist.com or any other website where people can post adds about items for sale. Websites like theses make it even more important for you to make sure that you are not getting ripped off, and are actually getting quality containers.
There is something to be said, however, for buying shipping containers from sites like craigslist.com. This allows you to buy locally, which fuels the local economy and allows you to inspect the container personally before finalizing the sale. It also eliminates the shipping costs you could incur by buying containers from far away places.
If you like the idea of a shipping container home, but are not anxious to outfit the thing yourself, you could consider buying an already built and outfitted shipping container.
Mostly, you’ll have to buy these already build homes from websites much like craigslist.com. These homes will come from people who have already lived in it, but no longer need it. Or perhaps from people who have fallen into the trend of “flipping houses” and have merely extended their work to shipping containers as well.
If you don’t want to buy homes from these circumstances, you could always commission the building of a shipping cabin container from a company that specializes in that work. There are not many companies, or at least not well known or big companies, that are up for this work.
Mostly likely, if you want to commission the work to a second party, you’ll have to find an individual who is willing to do it, and do it well.
Start at the Bottom
So, now that you have the proper shipping container, and it’s being shipped to the land you have designated for it, it’s time to get the land ready.
For the most stability and security, you’re going to have to put down a foundation of some sort. You can do one of two foundations: a poured concrete foundation or a set of piers.
Concrete Foundation
Most people choose a concrete foundation if they plan on keeping their shipping container in the same place for the duration of its life. If you want a mobile shipping container cabin, then ignore the next few paragraphs. If you want your cabin to stay put, then carry on.
Concrete foundations provide a much more stable foundation that a foundation made out of piers would. You would have to pour it directly into the land where you want your shipping container to sit. This requires you to dig a level pit into which you can pour your concrete.
You might want some help if you are planning on pouring a concrete foundation for your shipping container. First, of all, many hands make light work, and digging holes can be pretty exhausting. And let’s be honest, this is not just a simple Pinterest DIY project. Pouring that much concrete is going to be had all by yourself.
And extra set of eyes and an extra set of hands will help immensely when pour the concrete. Because hundreds of pounds is going to be resting on this foundation, you going to want to make sure that you are doing it right.
The foundation needs to be level, and there need to be no air bubbles in the concrete. That could lead to structural infirmities and collapse. It needs to cure for the right amount of time, and be mixed just right.
The concrete will need to cure for 24 hours. This could be hard, since you’re pouring it outside, and there are things like squirrels and rain that get in the way. My suggestion is to erect something like a carport to cover the area as it cures.
You’ll need to embed steel plates into the concrete foundation where the corners of the shipping container will be. This will allow your shipping container to be welding directly onto the concrete (you’ll probably need some help with that job too).
Piers
People use piers as foundations if they want the freedom to be able to move their shipping container cabin whenever they want.
Piers are not as stable as concrete foundations, but they work just as well, and are still perfectly safe. Many people use piers as a foundation when building chicken coops.
Because shipping containers are so small in comparison to normal sized houses, it is actually much cheaper to use pier foundations than slab concrete foundations. They also result in zero yard destruction.
Pier foundations lift your shipping container off of the ground, which is useful because it creates a craw space that you can use if you have to check out a problem. It’s a little hard to take a look at some pipes if they’re buried in concrete.
This extra space also creates some nice insulation because now air can get all the way around your container. This is nice in warm climates. In cold climates, you can still take advantage of this space and wrap exterior insulation along the bottom, which will help keep it warm.
Plot out some holes to dig in your land that correlate to the size of your shipping containers. Typically, that means you’ll need one on each corner, and then you just post them every foot or so, and fill in the square you’ve created.
Make sure these holes are level, then place blocks inside, stacking them as required until the top is about 24 inches above the ground.
Back fill the holes. That just means that you fill in the empty space around the blocks with packed dirt. This will add to the stability.
Place the Containers
The easiest way to get the shipping containers unto your land is by crane. If you buy the shipping container from a company that agrees to help with installation, then that shouldn’t be difficult. If that is not the case, you can rent a rough terrain forklift.
If you are renting equipment to help you with placing the container, make sure that you check the weight capacity for the vehicle. A 20 foot shipping container weights about 5,000 pounds, so you’ll need equipment that can handle that.
One you place the container, you can perform small adjustments rather easily with just a large crowbar.
If you bought and are placing more than one container and want to connect them, now is the time to do it. You can do this with heavy duty bolts, special clamps meant especially for connecting shipping containers, or by welding the two structures together. You can find the clamps here. They are the most expensive of the options.
If you never plan to move the shipping containers, then welding them together might be the best option. It’s the most secure and stable.
Now is the time to determine if your containers need any structural reinforcement. You can consult an engineer if you wish, and that is likely the best way to get the best advice. Reinforcement usually comes in the form of additional steal box beams. These might be needed to keep the structure stable when you start removing parts of walls and adding roofs.
Build Your Roof
You don’t necessarily have to build a roof if you don’t want to. An additional roof will help in warmer climates to keep the sun rays from beating directly on your container and turning your hunting cabin into an oven.
A roof will help to keep the rain and snow from accumulating on top of your container. If you get too much snow accumulation, the top could potentially buckle.
A simple roof takes only about a few days to build if you are moderately skilled, can watch YouTube videos, and can get a few friends together. The most popular and common roof to build is a low pitched shed roof.
For more information on building roofs, visit this website.
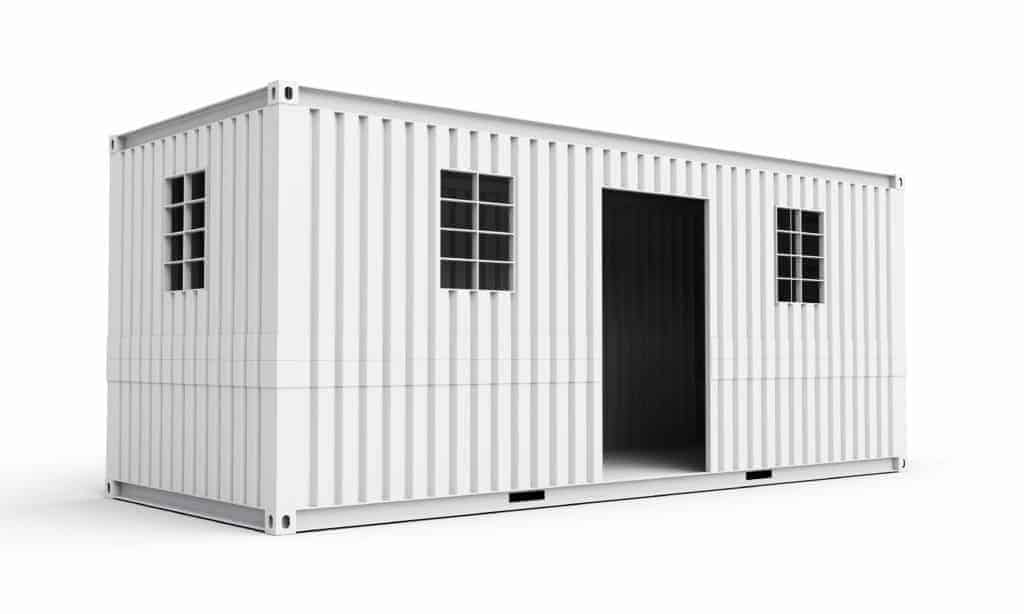
Cut Things Out and Add Things In
Now that you have the skeleton of a shipping container cabin, it’s time to make it your own.
Shipping containers come with one door, but it you want more points of entry, then you’re going to have to remove parts of the wall and install an addition door. You can cut through the metal of your shipping container with a plasma cutter, a cutting torch, a grinder, or a jigsaw.
Jigsaws work really well for small openings, but plasma cutters are probably the best option for cutting out big sections of your walls for doors or windows. You’ll probably want to use a jigsaw for things like cutting holes for wires and pipes.
If you don’t want any more walls or windows, then you don’t really have to worry about any demolition, and you can move right along to construction.
First, there’s some housekeeping to take care of. Make sure to seal up any cracks in the corners of your container. Wash the floors with solvent (isopropyl alcohol works really well), then treat them with epoxy. Many of the floors in shipping containers are treated with pesticides and other harmful chemicals, so you’re going to want that epoxy acting as a barrier.
You can also
If you’re going to be using this hunting cabin in cold weather, you’re going to want to install some insulation. Trust me. Do not skip this step.
You can remove your inner walls of the shipping container and install the insulation in between the two walls. When you remove the inner walls is when you really want to looks for cracks and spaces to seal up.
Pro Tip: Wrap the foam insulation with steel wool to prevent determined mice from chewing through the foam insulation.
You can frame the inside of your shipping container to further increase effectiveness in terms of heat conservation and rodent deterrent. However, this does further limit the usable space inside your already narrow shipping container.
You can use steel studs to hold up the drywall, as they save the most space, but they are also weaker, and have a tendency to fail over time. Wooden studs would work best. They hold up the drywall well and last a long time, but they do take up more space. The choice is yours.
Another option is to just use plywood instead of drywall. Plywood is not as reliable, and will warp easier, but it is cheaper, lighter, and thinner than drywall.
Speaking of wall, you can add some divisions at this stage. You might want to have multiple rooms, and you’ll definitely want to section off the bathroom, so now is the time to build in these partitions.
Electrical and Plumbing
This step is the most skilled work that you’re going to have to do. If you don’t feel up to the task, you can hire somebody to do it for you but it is much cheaper to do it by yourself.
You have a choice when it comes to a power source in your shipping container. Solar panels are much more reasonable for a size of house this small. The panels themselves are expensive, so you would have to do some of your own calculations and analysis to see if it was worth it.
There are also many types and sizes of generators that you can hook your power into. Generators can be powered by gasoline, solar power, or electrical power (like from a car battery), so it’s your choice to pick the one that works best for whatever you have planned.
When you do your electrical wiring, you’re going to want to do it when you have your walls open. Install light switch boxes, outlets, and light fixtures. Most of this is pretty easy.
When it comes to plumbing, there are a few options at your disposal. You can connect your system to an on site septic tank. If you really want to go rustic, you can just forgo the plumbing and get an outdoor toilet and shower.
If you do want plumbing, you can install a water tank that you would just need to fill up every so often. You can also install a water heater for things like hot showers and washing dishes.
Self composting toilets have become pretty popular. They take human waste and turn it into fertilizer so you don’t have to deal with getting rid of black water.
A lot of times, people just have everything run off of propane. Propane is stored in small tanks, and can be used to power ovens and lights, and heat water.
Accessorize
Now that you’re done with the nitty gritty building portion of the project, you can move on to the fun part: decorating.
You don’t have a lot of space, so you’re going to have to be conservative with what you put into your shipping container. If this is meant to be your hunting cabin, then you won’t need much anyway.
You’re going to need to include a sleeping space. This can be as simple as a space you clear on the floor at night for a few sleeping bags. Or you can buy some cheap 2 by 4 bunk beds.
For a kitchen, something as simple as a cooler and a grill often work. You can get an apartment sized range and cook top and a microwave. A small fridge would also fit.
Storage space for food and supplies is a must. You’re going to need a place to put all of your hunting equipment.
Besides the furniture, you can paint, hang pictures, and basically do anything you want. It is your cabin after all! The whole thing should cost just a little less than $10,000 to $15,000.
Related Questions
What are alternatives to hunting cabins? You can build cabins out of a lot of things. Shipping containers, logs, plywood, you name it. If you want a small cabin but are looking for something less spartan, then you can just build or buy a small or tiny cabin. It’s small, but with all the perks of living in an on grid house.
How long will a shipping container home last? You can expect 20-25 years out of your shipping container house if it is kept up well. Shipping containers are made to be durable during sea crossings and such, so they can hold up in bad weather.